The first showing of a property no longer happens at the front door; it happens on a screen. In the high-stakes world of luxury real estate, professional photography is your most powerful marketing tool. However, even the most skilled cinematic photographer cannot hide a cluttered kitchen or a poorly lit bedroom.
Preparation is the difference between a listing that sits and a listing that sells. This comprehensive agent checklist ensures your property is staged to perfection before the first shutter click.
In the Bay Area's luxury market—from San Francisco penthouses to Palo Alto estates to Marin County waterfront homes—professional preparation separates top-selling agents from the rest. A property well-prepared for photography sells faster, at higher prices, and with fewer contingencies. This guide covers every detail that will appear (or shouldn't) in your final images.
#1 Prep Tip: Declutter Like a Curator
"Remove 50% of the items on every surface. If it doesn’t add architectural value, it takes away from the sale price."
Timing: When to Shoot for Maximum Impact
The timing of your shoot matters immensely. Golden hour—the hour before sunset—produces warm, directional light that photographs beautifully. However, for interior shots, you may want morning light, which is cooler and more consistent. Professional photographers often recommend scheduling shoots on clear days with minimal haze, typically in mid-morning (10 AM–12 PM) or late afternoon (3 PM–5 PM).
Seasonally, spring and early fall are optimal in the Bay Area—greenery is lush, skies are clear, and light angles are favorable. Avoid gray winter days or high-contrast summer midday sun.
Plan your shoot at least 2–3 weeks in advance, and coordinate directly with your photographer about ideal timing. Communicate any specific lighting preferences, and ensure all prep work is completed the day before the shoot.
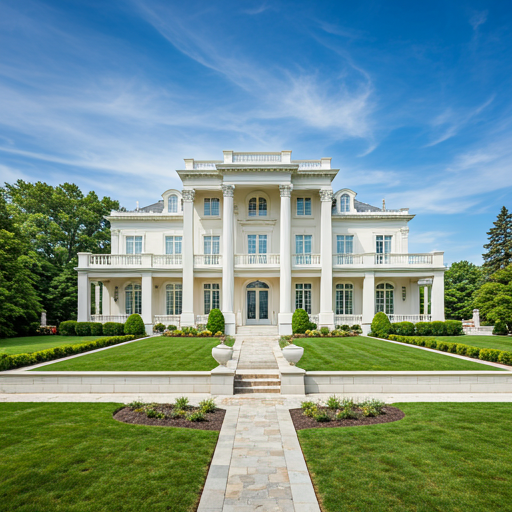
Exterior & Curb Appeal
-
check_circle
Clear the Driveway: Ensure no cars are visible in the driveway or directly in front of the house. A pristine driveway signals meticulous home maintenance.
-
check_circle
Garden Grooming: Mow the lawn, trim overgrown bushes, and clear away stray garden hoses or tools. Professional landscape maintenance suggests professional home ownership.
-
check_circle
The Pool Area: Remove the pool cover and the automatic cleaner. Arrange outdoor furniture neatly with fresh cushions. A pool or spa should appear inviting and well-maintained.
-
check_circle
Front Door & Entryway: Paint the front door if it's faded. Ensure house numbers are visible and clean. Add a tasteful wreath or potted plants for warmth.
-
check_circle
Windows & Shutters: Clean all windows inside and out. If shutters are visible, ensure they're straight and well-maintained.
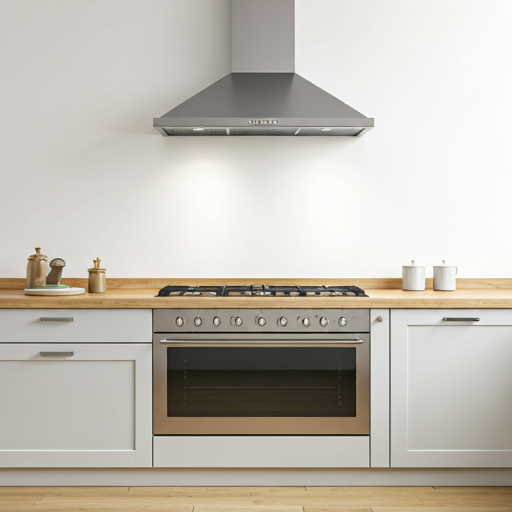
The Kitchen Protocol
Clear all appliances from countertops (toasters, coffee makers, blenders). Remove magnets and photos from the refrigerator. A completely clean surface allows the eye to appreciate the scale and materials of the space.
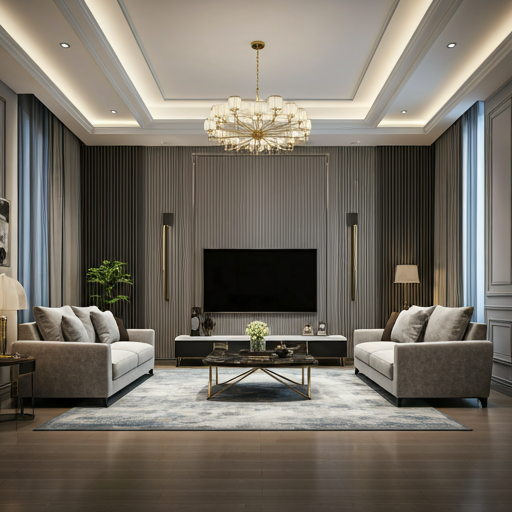
Interior Finishing Touches
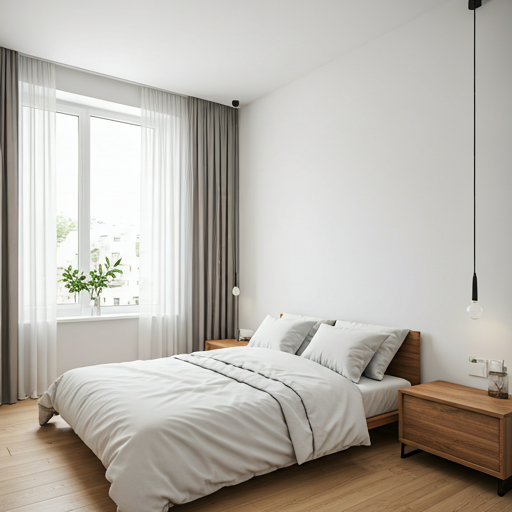
The Bedrooms
- check Make beds with ironed linens
- check Remove all items from bedside tables
- check Clear shoes/clothes from floor
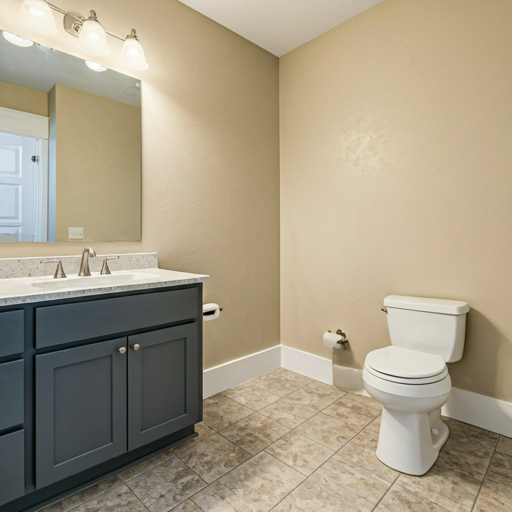
The Bathrooms
- check Put toilet lids down
- check Clear all toiletries from showers
- check Hang fresh, matching towels
The Science of Light
Lighting is the soul of real estate photography. To achieve that editorial, airy look, we recommend:
Consistency
Ensure all bulbs in a room are the same color temperature.
Natural Flow
Open all blinds and curtains completely to let in natural light.
Turn Off Fans
Ceiling fans should be off to avoid motion blur in long exposures.
Communicating with Homeowners
Homeowners may resist extensive preparation. Frame it positively: "Professional preparation isn't about making your home look like someone else's—it's about letting YOUR home shine. We're removing distractions so buyers see the true value of your property."
Provide this checklist at least one week before the shoot. Follow up 2–3 days before to confirm completion. Consider scheduling a quick walkthrough the day before to ensure everything is ready.
Common Mistakes That Ruin Photos
-
close
Busy Counter Clutter: Every kitchen item visible in a photo reduces perceived spaciousness. Hidden appliances look luxe.
-
close
Dark Interiors: Dim lighting photos poorly. All lights should be on, and window coverings fully open.
-
close
Visible Personal Items: Family photos, children's artwork, personal mementos make homes feel occupied. They distract buyers from envisioning their own lives in the space.
-
close
Open Doors & Drawers: Even slightly ajar cabinet doors look sloppy in photos. Everything should be closed and aligned.
-
close
Messy Landscaping: Dead plants, overgrown vines, or shabby garden structures photograph as "neglect." Invest in basic landscaping tidying.
How Prep Affects Your Final Results
A photographer with perfect technical skills cannot turn a cluttered, poorly lit home into a compelling listing. However, the same photographer working with a well-prepared property can create images that command premium prices and generate immediate buyer interest.
Data from Bay Area listings shows that properties receiving comprehensive prep sell 18–25 days faster on average and achieve sale prices closer to asking (95%+ vs. 88%). In Palo Alto, San Francisco, and Marin luxury markets, this translates to six-figure differences.
Conclusion
When you walk through your listing one last time before the photographer arrives, look at it through a camera lens. If an item doesn't tell a story of luxury, comfort, or space, remove it. Following this checklist ensures your professional photography investment yields the highest possible return.
In the Bay Area's competitive luxury market, preparation separates listings that generate multiple offers from those that languish. Your homeowners' willingness to prepare thoroughly is the foundation of your marketing success.